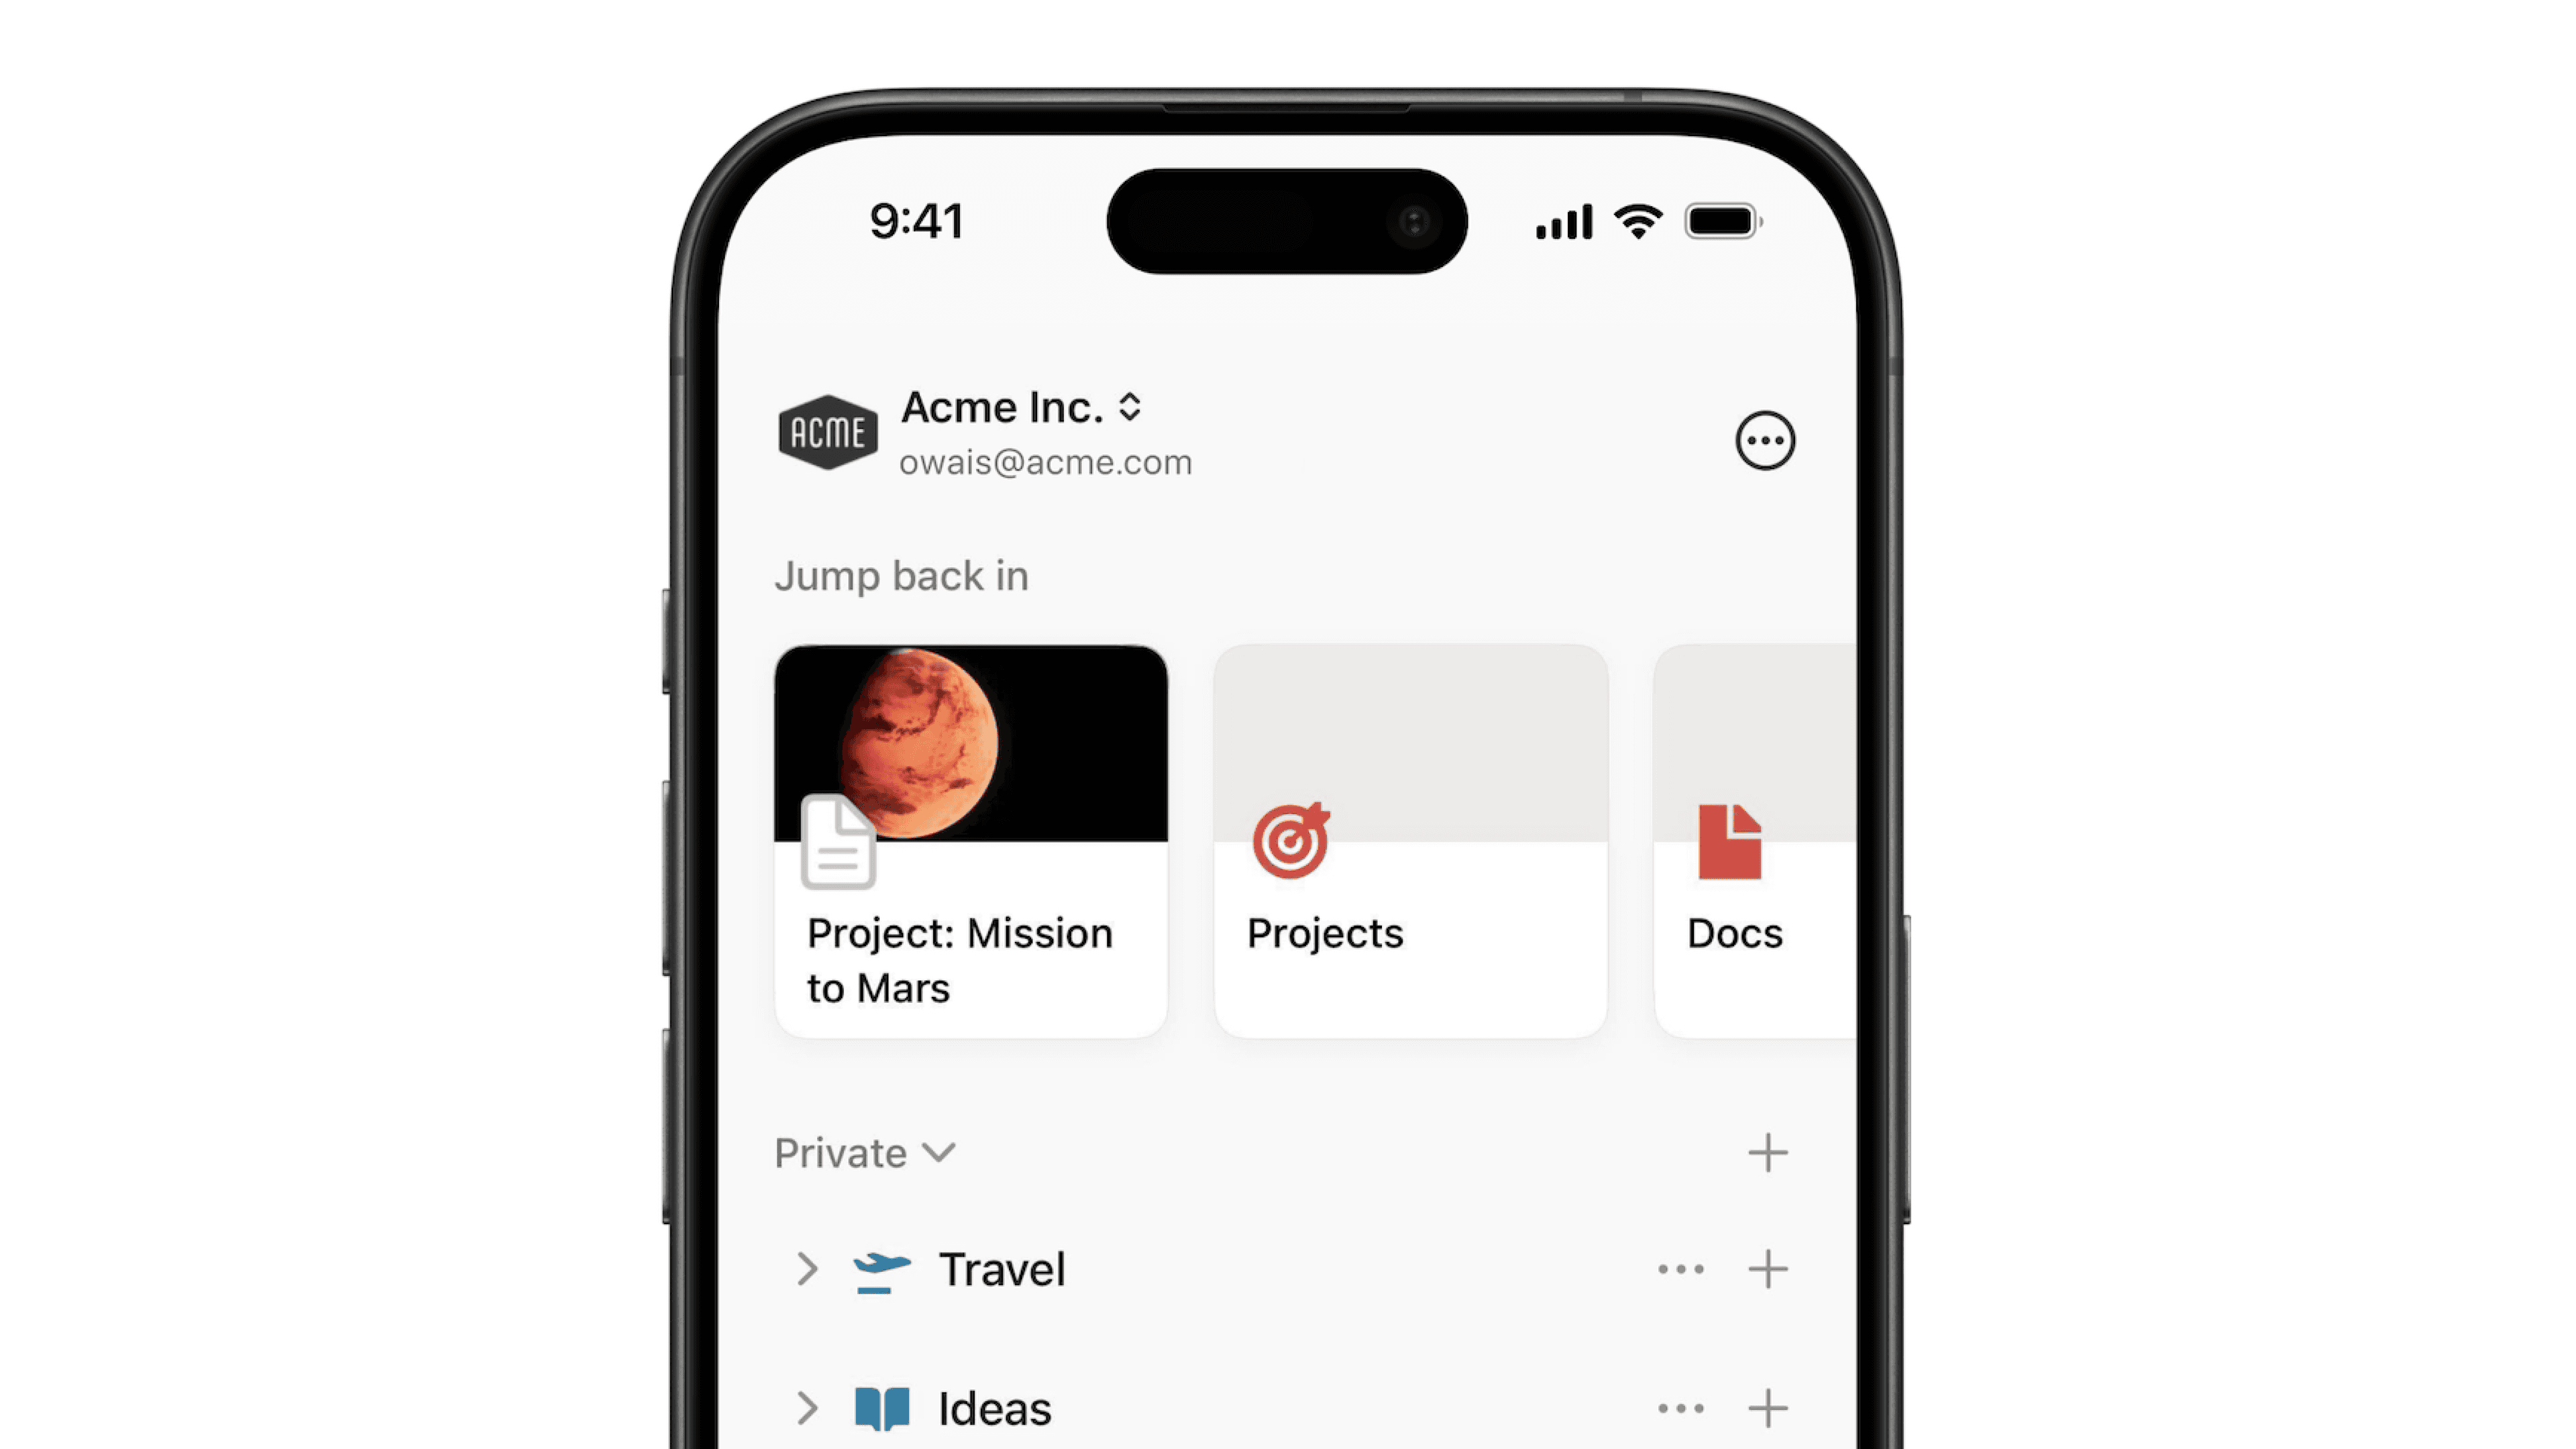
Workspace settings
When you sign up for Notion, you can create multiple workspaces connected to your account. Each one can be customized to your liking with workspace-specific settings. Here's how to manage every aspect of an individual workspace.
Ir a las preguntas frecuentes
Not sure where a setting lives? You can search for it instead of looking through each settings page.
To find a setting:
Go to
Settingsin your sidebar.In the search bar at the top left, type what you're looking for, like "export" or "domain".
Select a result. Notion will take you to the right settings page and briefly highlight the setting so it's easy to spot.
Each result also shows where the setting lives, like Workspace / General, so you know where to find it next time.
Note:
Search matches the exact words in a setting's name, its description, or the page it's on. If you don't see a result, try the exact word Notion uses for that setting.
You'll only see settings you can access. For example, members won't see settings that only workspace owners can change.
Some settings may not show up in search yet. More are being added over time.
To change your workspace name and icon:
Go to
Settingsin your sidebar.Under
Workspace, selectGeneral.In the field under
Name, enter a simple name for your workspace.Under
Icon, click on your current icon and choose an emoji or upload your own image.
Make it simple for people with certain email address domains to automatically join your workspace as members, or as workspace owners if you're on a Free Plan. As soon as they sign up, Notion will recognize their email and ask if they want to join your workspace.
To set an allowed domain:
Go to
Settingsin your sidebar.Under
Workspace, selectGeneral.Under
Trusted domain access, find the field underAllowed email domainsand enter your domain.
Nota: para poder verificar un dominio para tu organización, debes ser propietario de la organización.
Your Notion data will always be backed up in the cloud, but you can also export it for safekeeping. You can export all your pages as HTML, Markdown, or CSV (for databases), along with any files you've uploaded, too.
If you're on a Business or Enterprise Plan, you can also export your entire workspace to PDF, which can be helpful for legal and compliance backups.
Pages that the exporter doesn't have access to, such as private pages of other users, will not be included in the export. Workspace owners on the Enterprise Plan can give themselves and others access to specific pages using content search, so that those pages can be included in future exports. Some content also may not be exported based on teamspace settings.
A sitemap (index.html) is included the export to help you navigate the exported workspace. The list items in the sitemap are locally linked to the exported pages in HTML and Markdown formats.
To export your workspace content:
Go to
Settingsin your sidebar.Under
Workspace, selectGeneral.Find and select
Export all workspace content.You'll receive an email from Notion with a link to download your files. This link will expire after 7 days.
Nota:
Solo puedes exportar todo tu espacio de trabajo en la app de escritorio o web.
No puedes recrear instantáneamente tu espacio de trabajo volviendo a cargar el contenido de tu espacio de trabajo exportado.
If you have a Business Plan or Enterprise Plan, you can export a list of everyone in your workspace.
The exported CSV will include:
Email.
First name.
Last name.
Role (Workspace owner, membership admin, member, or guest).
A list of permission groups that each member is part of.
User ID.
To export workspace members as a CSV:
Go to
Settingsin your sidebar.Under
Workspace, selectGeneral.Find and select
Export members as CSV.
If you want page view analytics to be visible for users who have full access or edit access to a page:
Go to
Settingsin your sidebar.Under
Workspace, selectGeneral.Toggle on
Save and display page view analytics.
Once a workspace is deleted:
This action is permanent.
All of the content inside of it will be deleted. You won’t be able to access your content — even your private pages. You might want to export any data that you want to keep after you delete the workspace.
The deleted workspace will be deleted for everyone in it. This means all users who were part of a workspace before it was deleted will no longer have access to that workspace or any content inside that workspace.
You'll be returned to another workspace you belong to, or the sign up page for Notion if you don't belong to any others.
To delete a workspace:
Go to
Settingsin your sidebar.Under
Workspace, selectGeneral.Scroll down to
Danger zoneand selectDelete entire workspace. You'll be asked to type the name of your workspace to confirm you want to proceed.
Custom emojis can be used as page icons, in reactions, and inline. Workspace members can go to Settings in their sidebar → Emoji to manage custom emojis in their workspace. From here, they can:
Select
Add emojito upload their own file.Select
•••next to a custom emoji they’ve added, andEditorDeleteit.Workspace owners can edit or delete any emoji, even if they didn’t create it.
Workspace owners can also toggle on
Limit custom emoji creation to workspace ownersif they don’t want all members to create custom emojis.
Depending on how you're using your workspace, you may want to keep the data you have in it private for just your team. You can go to the Security section to adjust your workspace security settings.
Nota: algunas de las siguientes configuraciones están disponibles solo en planes específicos de Notion.
Allow page access requests from non-members: This setting is available to all plans except Enterprise.Allow members to request adding other members: This setting is available to users on the Plus Plan or higher.Allow any user to request to be added as a member of the workspace: This setting is available to users on the Plus Plan or higher.Allow page guests to request to be added as members to the workspace: This setting is available to users on the Plus Plan or higher.
Security settings available on Enterprise Plans only
Disable publishing sites and forms: Don't let members publish Notion Sites or forms to the web. Any Sites or forms already live on the web will be taken down.Disable duplicating pages to other workspaces: Don't let members move pages to other workspaces. Especially helpful if you have a lot of people and a lot of pages. It can get confusing fast, and some people may lose access when pages get moved.Disable export: Don't let members export pages. This ensures that all your data stays in Notion rather than having different versions saved as Markdown or CSV.Allow members to invite guests to pages: Let members invite guests to specific workspace pages.Allow members to request adding guests: Let members ask to invite guests to workspace pages.Who can add restricted members to Teamspaces: Choose whether workspace owners, workspace and teamspace owners, or any member can add restricted members to a teamspace.Who can add restricted members to pages: Choose whether workspace owners, any member with admin approval, or any member can add restricted members to a page.Once pages are moved to Trash, delete them after: This allows you to choose how long pages will be deleted after being moved to Trash.After pages are deleted from Trash, retain them for: This allows you to choose how long pages can be retained after being deleted from Trash.

If you're on the Business or Enterprise Plan, you can verify a domain for your workspace.
To verify a domain for your workspace:
Go to
Settingsin your sidebar.Select
Identity.Next to
Verified domains, selectAdd domain.Enter your new domain and select
Next.Follow the prompts to update your DNS record.
Click
Verifyto prompt Notion to check your DNS record.If your domain’s status is
Pending, select•••next to the domain →View details→Verifyto manually verify it.
Once verification is complete, you’ll receive a confirmation email and your domain’s status will be
Verified.
If you're on the Business or Enterprise Plan, you can set up SAML SSO for your workspace. Learn more in this article →
Preguntas frecuentes
¿Notion es compatible con dominios personalizados?
¿Notion es compatible con dominios personalizados?
Aprende a solicitar un notion.site o conectar un dominio personalizado a tu sitio de Notion aquí →
¿Cómo puedo migrar todo mi contenido de Notion a un espacio de trabajo diferente?
¿Cómo puedo migrar todo mi contenido de Notion a un espacio de trabajo diferente?
Nota: cualquier contenido migrado se duplicará en el nuevo espacio de trabajo y estas páginas pueden presentar problemas. Para más información, haz clic aquí.
Para mover contenido de un espacio de trabajo a otro que esté asociado a la misma cuenta, haz clic en el ícono ••• junto a cada una de las páginas principales de tu barra lateral (o haz clic con el botón derecho) y selecciona Mover a. En la parte inferior del menú Mover, verás un menú desplegable donde podrás seleccionar otro espacio de trabajo.
Al mover páginas principales, todas las subpáginas que contienen también se mueven. Aparecerán en la sección Privado, pero puedes moverlas adonde quieras.
¿Qué sucede si elimino algo por error de manera permanente? ¿Hay alguna forma de recuperarlo?
¿Qué sucede si elimino algo por error de manera permanente? ¿Hay alguna forma de recuperarlo?
Si borras accidentalmente una página, un espacio de trabajo o incluso toda tu cuenta, podemos ayudarte. Los accidentes pasan 😅. Envíanos un mensaje desde la app haciendo clic en ? en la parte inferior de tu barra lateral, o envíanos un correo electrónico a [email protected].
Guardamos copias de seguridad de nuestra base de datos, lo que nos permite restaurar tu contenido de los últimos 30 días en caso de que lo necesites.